

Hi Everybody,
thanks for all your lovely comments, they are very much appreciated. My post today is pretty much a copy of my regular Spotlight Feature over at the STAMPlorations Blog.
I have been playing and making cards using their ARTplorations Stencils. Today I'm going to show you a couple of techniques for creating a sky background using their Clouds stencil.
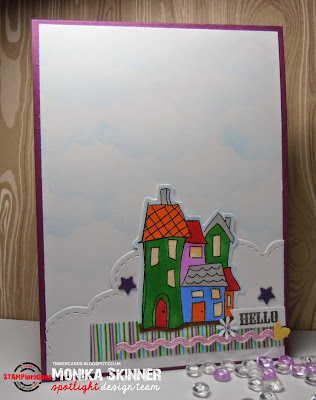
First up a little HELLO card where I used one of the clouds from the stencil, the fluffy one above the shining sun, to sponge my background.

For my next card I worked with one of the individual cloud cut outs, to be precise it was the one which would fit the top right hand corner of the Clouds stencil.
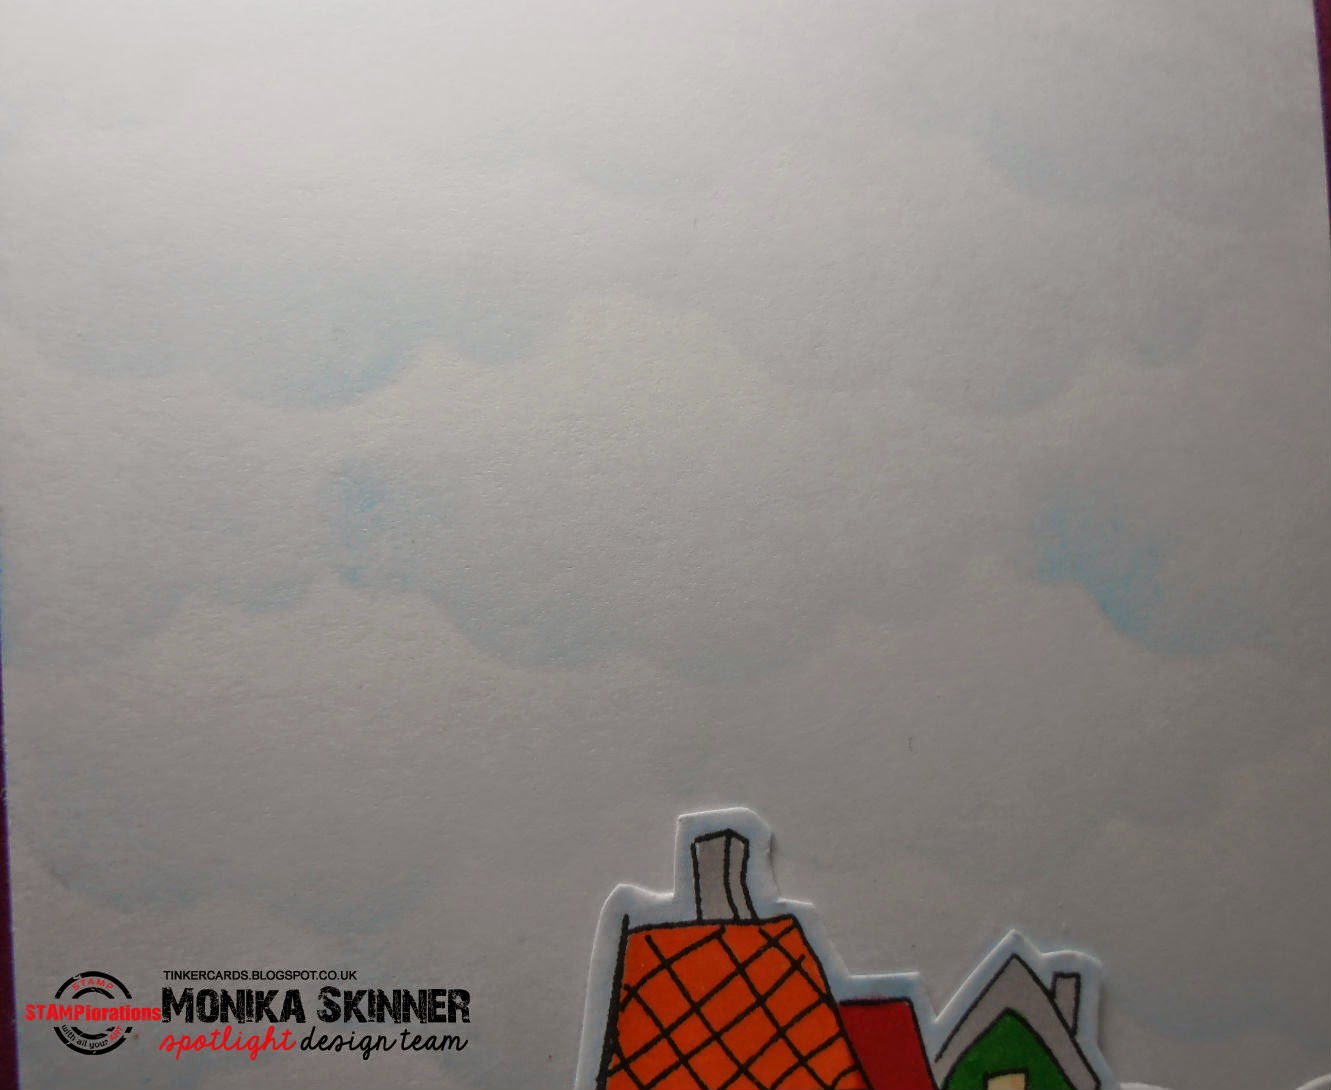
This time I tried starting at the top sponging light blue off my cloud onto white card whilst still only working with one edge of the cloud, again moving it along as described above for my first card.
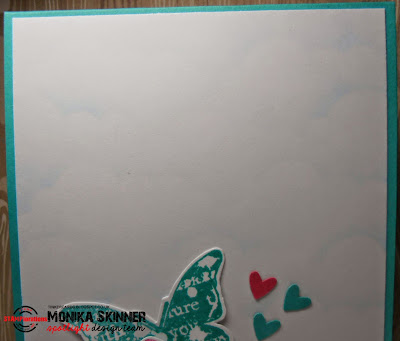
I went a little lighter with my sponging as you can see from the closeup. Sorry it would have shown a little better had I been a bit more heavy handed. It looks lovely and soft on the card, but sadly doesn't show up that well in the photos.
Next I used some stamps from the Trendy Butterflies Set, stamped my sentiment on my die-cut cloud corner and a couple of butterflies on a piece of white. Next I fuzzy cut my butterflies, layered all elements as seen and finished off by adding a gem and some tiny hearts.
TIP!: Arrange the butterflies and heart to roughly form a heart shape to perfectly tie in with the sentiment.
As always, there is a craft along video showing you both of the sky techniques I used. All you need is some light blue ink, a couple of pieces of white card and your ARTplorations Stencils: Clouds.
That's it from me for today, back again in a couple of weeks with some more spotlight inspiration. Pop over to the STAMPlorations Blog and leave a comment for your chance to win a prize. Check out all of our other Spotlight Features too, the more blogs you comment on in a month the greater your chance of winning.
I have been playing and making cards using their ARTplorations Stencils. Today I'm going to show you a couple of techniques for creating a sky background using their Clouds stencil.

First up a little HELLO card where I used one of the clouds from the stencil, the fluffy one above the shining sun, to sponge my background.
- Starting at the bottom edge, work with the lower edge only blending light blue ink into the cloud shape moving it along to create a row/line of clouds.
- For the next row/line move up a little and offset the cloud pattern for a more random look which you can see quite well in the closeup below.
- Next attach a cloud shaped die-cut border, a piece of Washi and pink ricrac ribbon.
- Stamp, colour and fuzzy cut The Bees Knees Houses, I went for a bold child like coloured look, and attach
- Stamp the HELLO sentiment (PATCHWORK FRENZY Graphic Squares) on a strip of scrap and attach as little banner
- Layer on your matching base card and add some tiny embellishments to finish. I used stars, daisy, gem and heart,which I just had on my desk, but you could equally well use pearls, candy dots or sequins
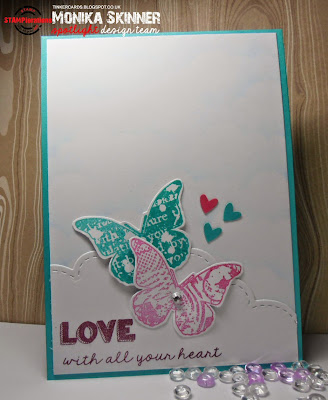
For my next card I worked with one of the individual cloud cut outs, to be precise it was the one which would fit the top right hand corner of the Clouds stencil.

This time I tried starting at the top sponging light blue off my cloud onto white card whilst still only working with one edge of the cloud, again moving it along as described above for my first card.
I went a little lighter with my sponging as you can see from the closeup. Sorry it would have shown a little better had I been a bit more heavy handed. It looks lovely and soft on the card, but sadly doesn't show up that well in the photos.

Next I used some stamps from the Trendy Butterflies Set, stamped my sentiment on my die-cut cloud corner and a couple of butterflies on a piece of white. Next I fuzzy cut my butterflies, layered all elements as seen and finished off by adding a gem and some tiny hearts.
TIP!: Arrange the butterflies and heart to roughly form a heart shape to perfectly tie in with the sentiment.
As always, there is a craft along video showing you both of the sky techniques I used. All you need is some light blue ink, a couple of pieces of white card and your ARTplorations Stencils: Clouds.
I shall be posting here a little sooner than this ...
Until then have a lovely time.
hugs
Monika xxx


hugs
Monika xxx
Super fun house!!
ReplyDelete